Threading a Sewing Machine: A Comprehensive Guide
Threading your sewing machine is a crucial step for any project. This guide provides step-by-step instructions and troubleshooting tips. Understanding the proper threading techniques is essential for smooth sewing. We will cover the thread guide and other areas.
Understanding the Basics of Threading
Before diving into the specifics‚ let’s cover some basics about threading a sewing machine. Threading is the act of guiding the thread through the machine’s components to create a stitch. The upper thread comes from a spool and passes through tension discs‚ a take-up lever‚ and a needle.
The lower thread comes from a bobbin placed in a bobbin case. Proper threading ensures that the upper and lower threads interlock correctly. A thread guide‚ often a narrow piece of metal or plastic‚ plays a crucial role in directing the thread. Without it‚ the thread may not reach the tension discs correctly.
This can lead to skipped stitches or puckering. Always consult your sewing machine’s manual for specific threading instructions‚ as designs vary. Some machines have multiple thread guides to help maintain proper tension. Mastering threading basics sets the foundation for successful sewing projects‚ avoiding frustration.
Choosing the Right Thread
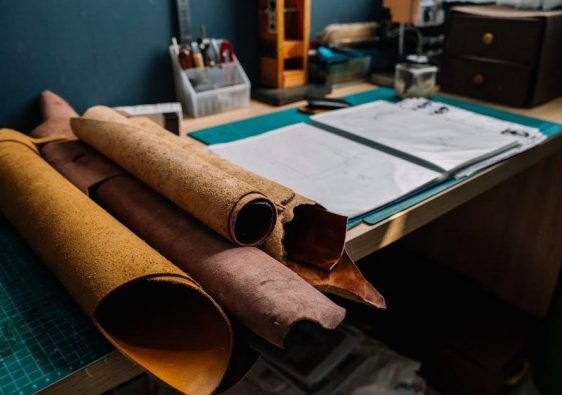
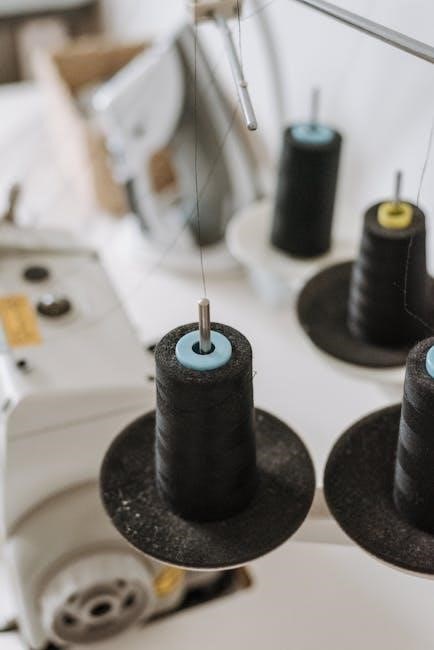
Selecting the appropriate thread is essential for successful sewing. The type of fabric you’re working with should guide your choice. For general projects‚ a good quality cotton or polyester thread is recommended. Avoid silk thread initially‚ as it can be more challenging to work with. When sewing delicate fabrics like silk or chiffon‚ use a finer thread to prevent damage.
For heavier fabrics like denim or canvas‚ opt for a stronger‚ more durable thread. Always choose a reputable brand to reduce the chances of breakage or fraying. Ensure that the thread color complements or matches your fabric for a professional finish. Consider the thread’s weight and texture in relation to your fabric.
Using the wrong thread can lead to tension issues‚ skipped stitches‚ or even damage to your sewing machine. Remember to check your machine’s manual for recommended thread types. Matching thread correctly will enhance the quality and longevity of your sewn items.
Step-by-Step Threading Instructions: Upper Thread

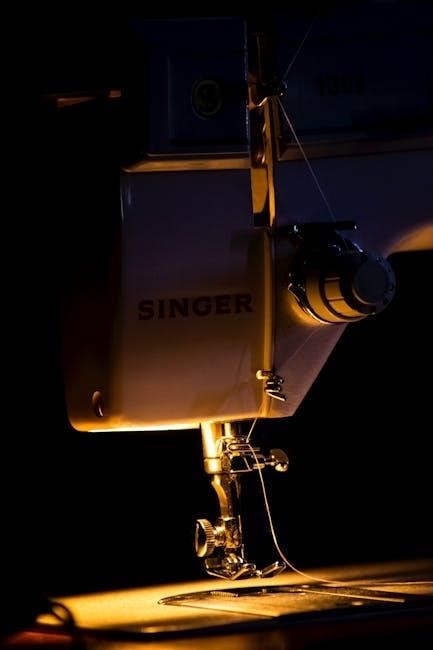
Threading the upper thread is crucial for sewing. Place the thread spool on the spool pin‚ securing it with a spool cap if available. Locate the upper thread guide‚ usually a metal piece with a slot. Guide the thread through this slot‚ ensuring it moves smoothly. Next‚ draw the thread down and around the tension dial‚ which contains the tension discs.
Ensure the thread passes between the tension discs for proper tension. Use the handwheel to raise the take-up lever to its highest position. Guide the thread through the take-up lever‚ either through a hole or a slot. Then‚ guide the thread through any wire hooks leading to the needle. These hooks help maintain thread control and prevent issues.
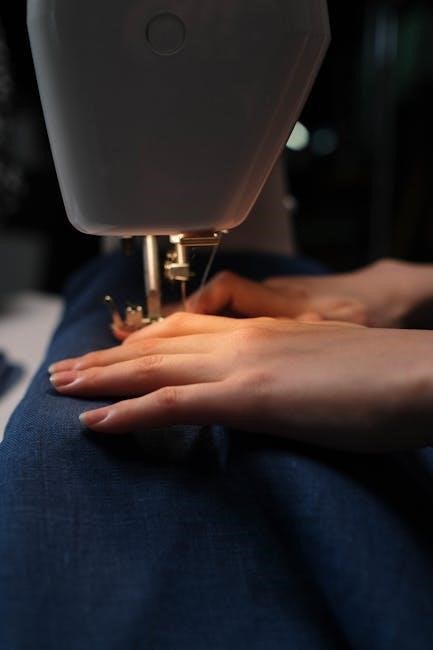
Finally‚ thread the needle‚ cutting the thread end for a clean point. If needed‚ use a needle threader to assist. Ensure the needle is securely in place for optimal results. A well-threaded upper thread ensures neat and even stitches.
Threading the Spool and Upper Thread Guide
The first steps in threading your sewing machine involve the spool and the upper thread guide. Begin by placing your chosen thread spool onto the spool pin. This pin is usually located on the top right of your machine. Some machines have a vertical spool pin while others feature a horizontal one. Secure the spool in place with a spool cap‚ if available‚ to prevent it from unraveling during the threading process.
Next‚ locate the upper thread guide. This guide is typically a small metal or plastic piece with a slot or hole through which the thread passes. Its purpose is to direct the thread from the spool towards the tension discs. On some older machines‚ the upper thread guide might be a simple hook or loop.
Pass the thread through the upper thread guide‚ ensuring it sits securely within the designated path. This guide plays a crucial role in maintaining consistent thread tension and preventing tangles as the thread moves towards the rest of the threading mechanism. Properly positioning the thread at this stage will contribute to smoother sewing.
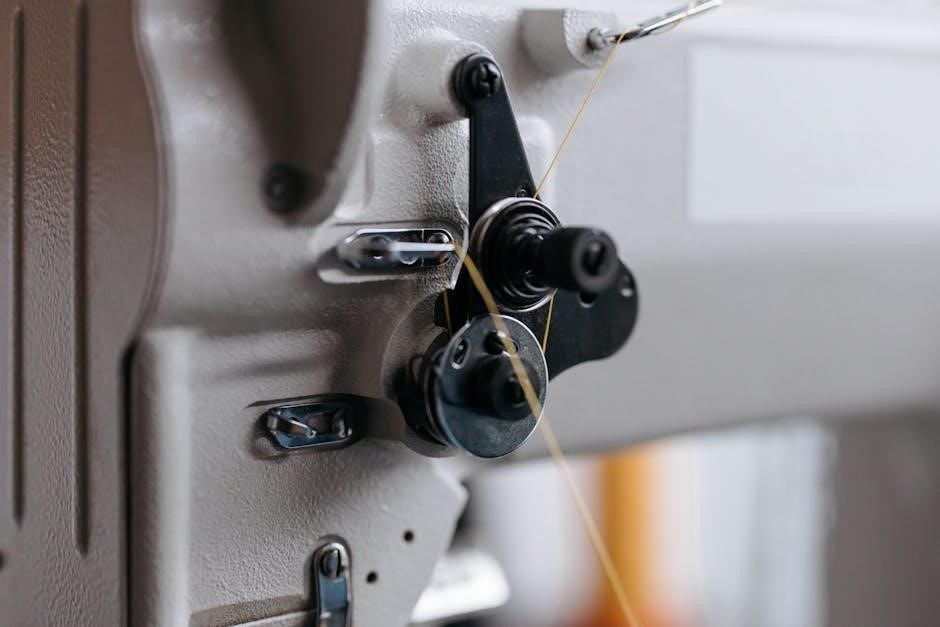
Navigating Tension Discs and Take-Up Lever
After guiding the thread through the upper thread guide‚ the next crucial step involves navigating the tension discs and the take-up lever; The tension discs are responsible for controlling the amount of thread released during sewing‚ directly impacting stitch quality. Locate the tension dial‚ which usually houses the discs‚ although they may not always be visible. Draw the thread down and around the tension dial‚ ensuring it sits snugly between the discs.
The take-up lever is another vital component in the threading process. Use the handwheel to position the take-up lever at its highest point. Then‚ guide the thread through the lever‚ either through a small hole or a slot. Some machines have a metal piece with a slot leading to the hole‚ making it easier to thread.
Properly navigating these components ensures consistent thread delivery and prevents issues like skipped stitches or seam puckering. Confirm the thread is correctly positioned before proceeding to the next step.
Threading the Needle: Manual and Automatic Methods
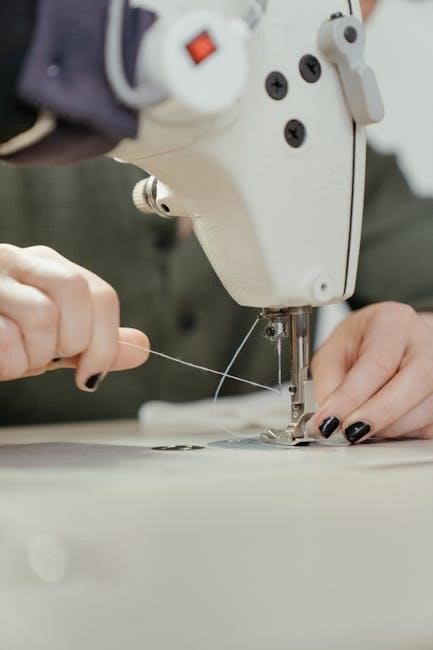
Threading the needle is a crucial step‚ often simplified by modern technology. If your machine has an automatic needle threader‚ consider yourself fortunate. For those without‚ the manual method requires precision and patience. Ensure the needle is securely positioned in the needle clamp. Lowering the presser foot provides additional space for maneuvering.
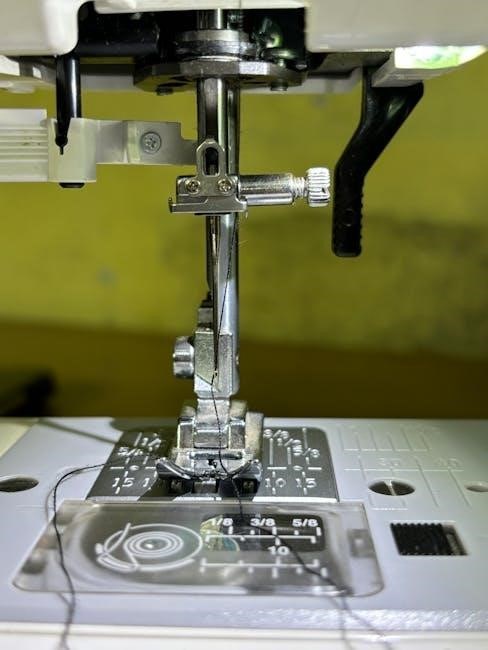
Use snips or small scissors to create a clean‚ sharp cut on the thread end‚ which facilitates easier passage through the needle eye. Grasp the thread with your dominant hand and guide the pointed end through the eye from front to back. If visibility is challenging‚ try using a magnifying glass or a well-lit area.
Once the thread is through‚ pull it gently but firmly from the back‚ ensuring a sufficient length for sewing. Be cautious not to pull too quickly‚ as tension from the discs may cause the thread to slip. With practice‚ this process becomes quicker and more efficient‚ setting the stage for successful sewing.

Step-by-Step Threading Instructions: Bobbin Thread
Threading the bobbin is a critical part of setting up your sewing machine. First‚ ensure the bobbin is correctly wound with thread. Locate the bobbin case‚ which may be front-loading or top-loading depending on your machine model. For a front-loading bobbin‚ open the bobbin compartment and insert the bobbin into the case‚ making sure the thread feeds off in the correct direction‚ typically counter-clockwise.
For a top-loading bobbin‚ remove the bobbin cover and drop the bobbin into the holder. Guide the thread through the designated slot or path in the bobbin case‚ following the diagrams provided in your machine’s manual. Pull a length of thread through the slot to ensure it’s properly seated.
Close the bobbin compartment or replace the bobbin cover securely. Next‚ hold the upper thread gently and use the handwheel to lower and raise the needle once‚ which should catch the bobbin thread. Gently pull on the upper thread to bring the bobbin thread up through the needle plate. Now both threads are ready for sewing.
Winding and Loading the Bobbin
Winding the bobbin is an essential preliminary step before threading the lower part of your sewing machine. Begin by placing your thread spool on the spool pin‚ and guide the thread through the thread guide specifically designed for bobbin winding. This guide ensures the thread is properly aligned and tensioned as it winds onto the bobbin.
Next‚ insert the empty bobbin onto the bobbin winder spindle‚ securing it in place according to your machine’s instructions. Wind the thread around the bobbin a few times by hand to secure it‚ then engage the bobbin winding mechanism. Start the machine‚ and the bobbin will automatically wind until it reaches the correct fill level‚ at which point the mechanism will disengage.
Remove the full bobbin and trim the excess thread. Now‚ load the bobbin into the bobbin case‚ ensuring it rotates in the correct direction as specified by your machine’s manual. Properly wound and loaded bobbins are crucial for even stitches and smooth sewing.
Troubleshooting Common Threading Issues
Encountering issues while threading your sewing machine can be frustrating‚ but most problems are easily resolved with a few checks. If the thread keeps breaking‚ ensure you’re using the correct type and weight of thread for your fabric. Check the thread path‚ making sure the thread is properly seated in all thread guides‚ tension discs‚ and the take-up lever. A missed guide can cause excessive tension and breakage.
Skipped stitches often indicate incorrect threading or a mismatched needle. Double-check that both the upper and bobbin threads are correctly installed. If the thread bunches up on the underside of the fabric‚ the upper thread tension may be too loose‚ or the bobbin thread may not be properly tensioned. Adjust the tension dial in small increments until the stitches are balanced.
If the machine jams‚ stop immediately and check for tangled thread or lint accumulation in the bobbin area or around the thread guides. Clean and re-thread the machine‚ following the manufacturer’s instructions carefully. Regularly cleaning your sewing machine and using quality thread can prevent many common threading issues.